Make Your Own Yogurt
Continuing in our little series of "What To Do With a Gallon of Milk"...next we have yogurt!

You will need:
1 gallon of milk (hope you guessed that by now...)
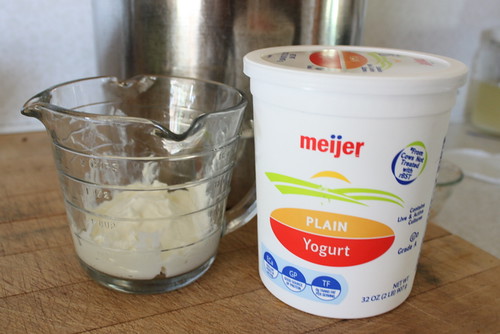
1/2 cup of store-bought yogurt, to use as starter (It can be vanilla, or plain...either works.)
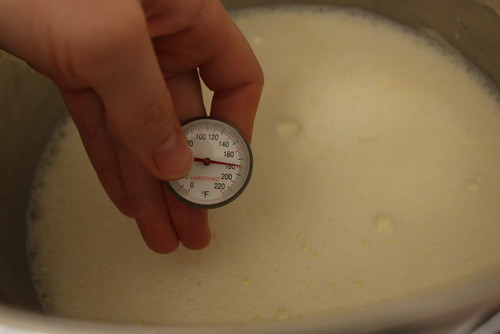
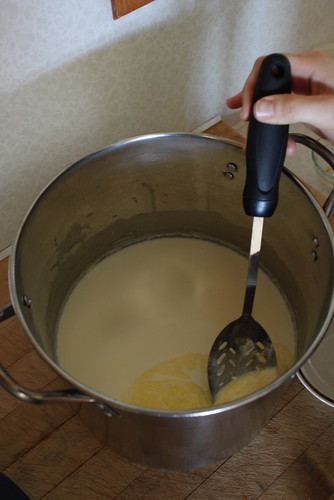
Then remove from the heat and either cool it in the sink with cold water around it, or just let it sit on the counter till it's down to 110 degrees.
If you resisted the urge to stir it while it was heating and cooling, (gracious, I sound like I work for a furnace and air conditioning company!) you will have a layer of cream on top.
Well, if you use fresh milk.
Not so sure if this is the case with store-bought.
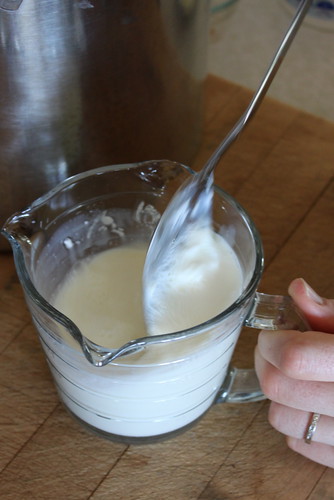
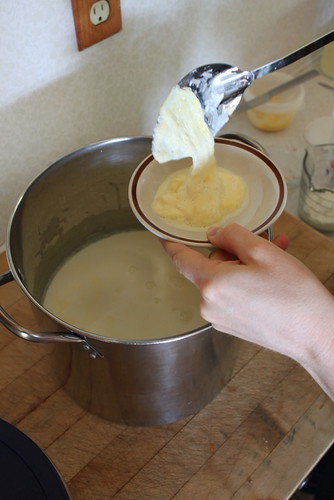
Anyway, I love to eat that layer of cream! So, skim it off and either eat it, or throw it out.
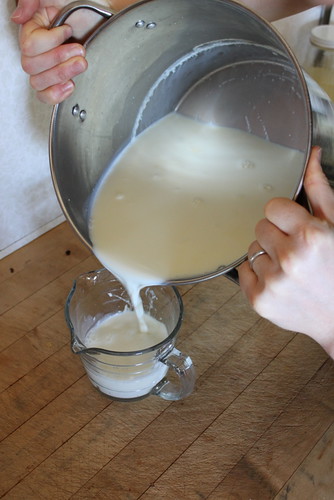
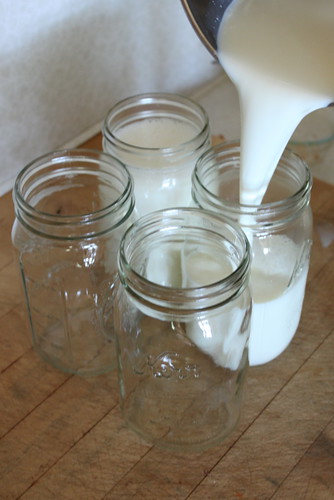
Once all blended, pour the milk into 4 quart jars and put lids on them.
Some people wrap the jars in a towel and put them in a cooler.
Some folks put the jars in the oven and just keep the oven light on.
I used to set my jars in the oven and heat it to the lowest temperature possible, till the light goes off or it beeped at me. Then I'd turn the heat off and let the jars sit there. But, sometimes I'd need to bake something while they were in there, and that creates a problem. I didn't want my yogurt cooked!
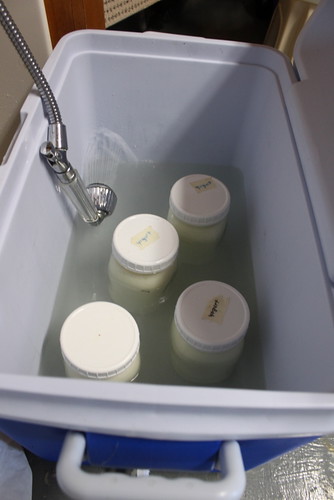
Now though, (and I'm not sure if this is best way, but it's what I do,) I fill the cooler with HOT water up to the jars neck, and let the jars incubate in the warm cooler.
So, however you want to do it is fine.
The point is to keep the yogurt at a consistent warm temperature (about 90 degrees) for 9-12 hours. Mine usually gets left in a LOT longer than that...more like overnight plus some.
I don't remember right now if it gets stronger tasting the longer you let it incubate, or the shorter. *I'm a little vague on that right now. :-/
Sometimes it will turn out better than other times. I still think that every kitchen has different bacteria and it will always behave differently depending on the time of year or the temperature of the house, or the starter, or whatever.
So don't get discouraged if it doesn't turn out quite how you expected. Experiment and try again. Perhaps incubate it for a shorter (or longer) period of time. Or try more or less starter. Just have fun!
I'm not a pro...and our yogurt gets this amazing amount of whey after it's done, and I'm not sure how to eliminate it. But at this point in my life, I don't fret about it. *Maybe someday I'll devote myself to making non-wheyie yogurt. :)
Anyway, once it's done incubating, you can eat it. :) Sometimes we add a dash of vanilla for flavoring. Some folks add sugar. Or maple syrup. Here's a picture of what we did with ours right after I made it recently:
(Homemade canned cherry pie filling, with cinnamon sprinkled on top. For breakfast. Yum.)
Remember to reserve a bit of yogurt from this batch to use as your starter for the next one! You can do that for a few batches, but then we usually get a new starter, 'cause it seems to fizzle out and needs a boost after a while.
So, here's the basic recipe for Homemade Yogurt:
Slowly heat 1 gallon of milk to 180 degrees. Let cool to 110 degrees. Stir in 1/2 cup prepared yogurt as starter and mix well. Pour into jars and incubate around 90 degrees for 6-9-12 hours. Enjoy!
*(If anyone has any suggestions or tips on that, let me know in the comments!)


I doubt I ever do this, but it was really interesting to see the process. :)
ReplyDeleteI started using Yogourmet Freeze Dried Yogurt Starter a couple months ago ...
ReplyDeleteAnd that works the best for me.. You get very thick yogurt ..every time!
It still gets a little whey after being in the fridge for several days, but not bad.
The other nice thing is you only have to incubate it for around four hours!
Think I might try this, Janel. Thanks for showing us how to do it! 'Cept I might use less than a gallon...I don't think we could eat that much at a time!
ReplyDeleteMom has been getting some Greek-style yogurt with a lot of really good bacteria in it, so I might try it with that for a starter. :)
Hi Janel,
ReplyDeleteFirst I need to say I miss you! I think of you lots and wonder how you are.
Alison did make you yogurt and it is sooo good! Thick (even the non-"Greeked") and tasty. I've also been eating my non-homemade yogurt with her homemade granola and cranberry preserves, YUM! She's quite the homemaker.
Thanks for inspiring her with this post as we all benefit from the "culture growth".
Carolyn~ I'm glad it turned out for her! And you were able to enjoy it, through her! :)
ReplyDelete